
Easily add a before/after photo slider to your Webflow site.
Erstellen des Make.com-Szenarios
1. Laden Sie den JSON-Blaupause unten, um angegeben zu bekommen.
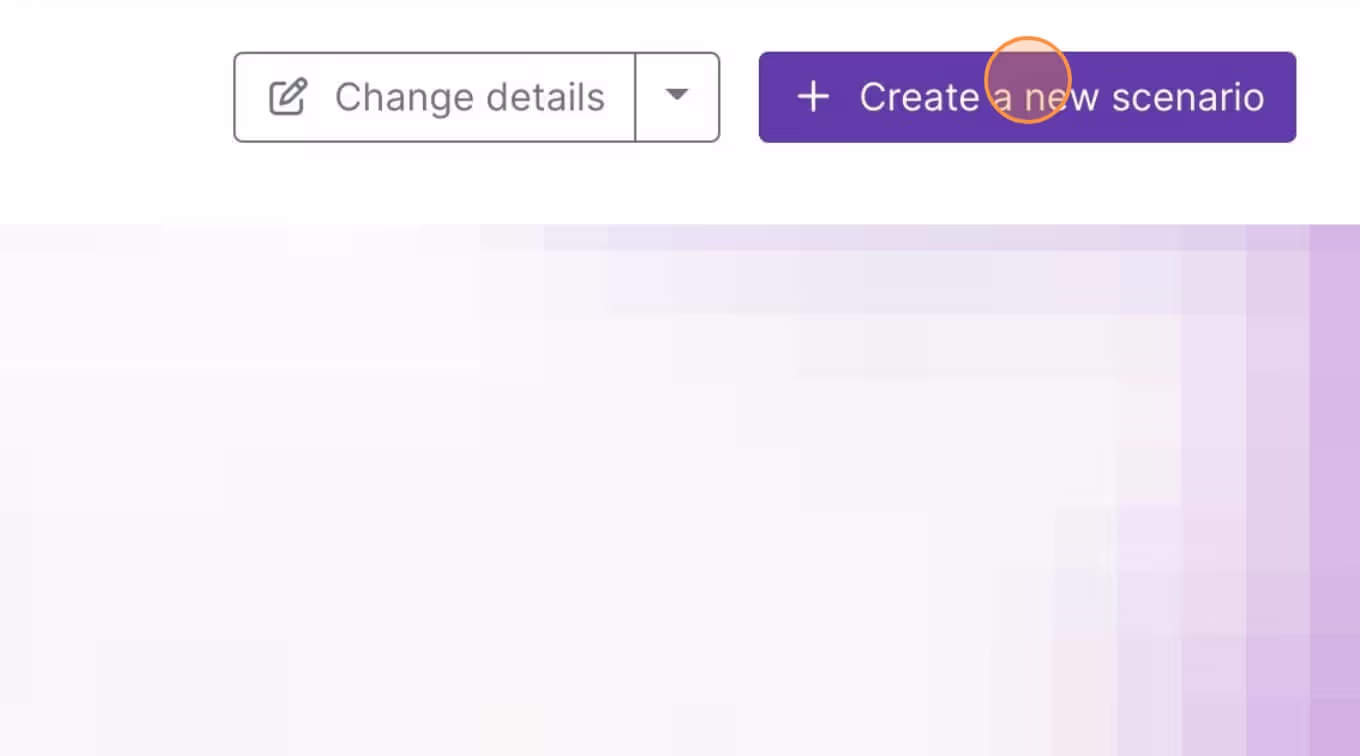
2. Navigieren Sie zu Make.com und erstellen Sie ein neues Szenario...
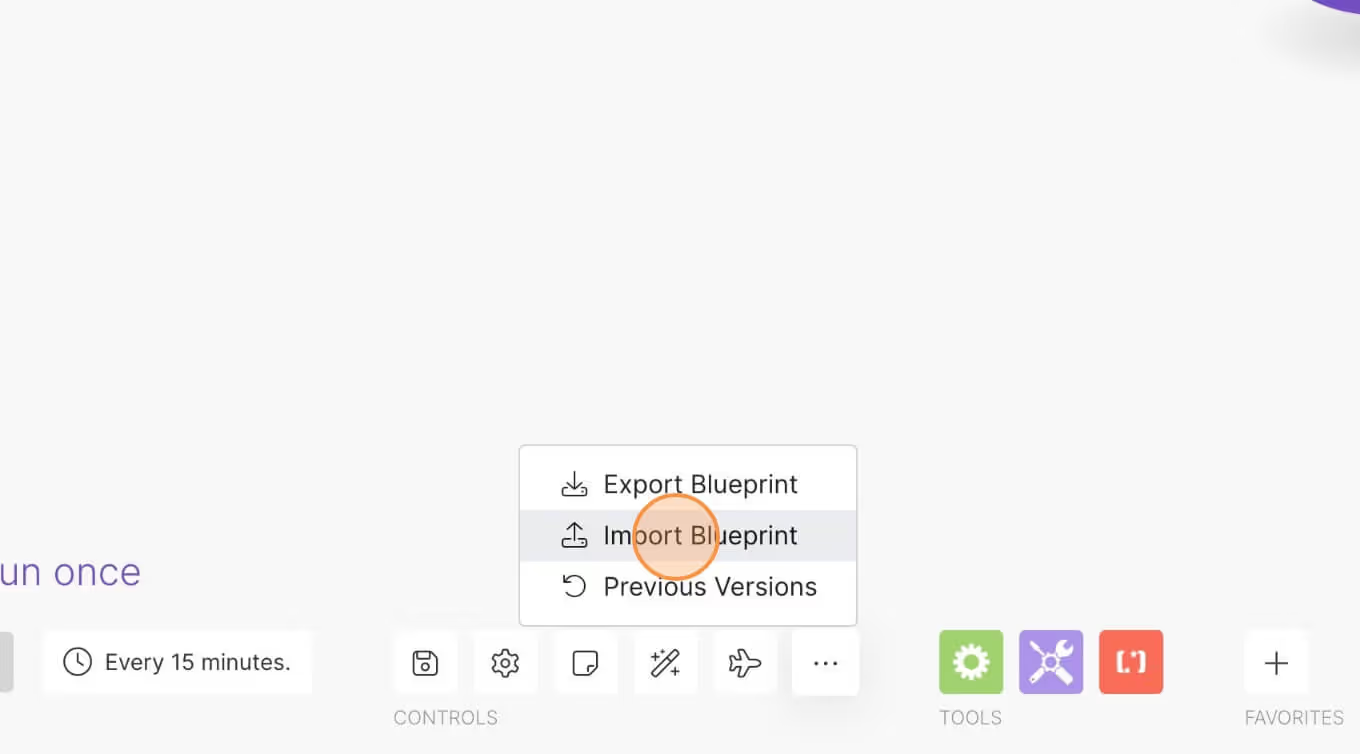
3. Klicken Sie auf das kleine Kästchen mit den 3 Punkten und dann auf Blaupause importieren...
4. Laden Sie Ihre Datei hoch und voila! Sie sind bereit, Ihre eigenen Konten zu verknüpfen.
Brauchen Sie Hilfe mit diesem MemberScript?
Alle Memberstack-Kunden können im 2.0 Slack um Unterstützung bitten. Bitte beachten Sie, dass dies keine offiziellen Funktionen sind und der Support nicht garantiert werden kann.
Treten Sie dem 2.0 Slack beiAutorisierung und Zahlungen für Webflow-Websites
Fügen Sie Ihrer Webflow-Website Logins, Abonnements, Gated Content und vieles mehr hinzu - einfach und vollständig anpassbar.
.webp)

"We've been using Memberstack for a long time, and it has helped us achieve things we would have never thought possible using Webflow. It's allowed us to build platforms with great depth and functionality and the team behind it has always been super helpful and receptive to feedback"


"Been building a membership site with Memberstack and Jetboost for a client. Feels like magic building with these tools. As someone who’s worked in an agency where some of these apps were coded from scratch, I finally get the hype now. This is a lot faster and a lot cheaper."


"One of the best products to start a membership site - I like the ease of use of Memberstack. I was able to my membership site up and running within a day. Doesn't get easier than that. Also provides the functionality I need to make the user experience more custom."

"My business wouldn't be what it is without Memberstack. If you think $30/month is expensive, try hiring a developer to integrate custom recommendations into your site for that price. Incredibly flexible set of tools for those willing to put in some minimal efforts to watch their well put together documentation."


"The Slack community is one of the most active I've seen and fellow customers are willing to jump in to answer questions and offer solutions. I've done in-depth evaluations of alternative tools and we always come back to Memberstack - save yourself the time and give it a shot."

Need help with this MemberScript? Join our Slack community!
Treten Sie der Memberstack-Community Slack bei und fragen Sie los! Erwarten Sie eine prompte Antwort von einem Team-Mitglied, einem Memberstack-Experten oder einem anderen Community-Mitglied.
Unserem Slack beitreten


.png)

