Von 50.000 Teams und Agenturen genutzt
Memberstack wird jeden Tag von Millionen von Menschen genutzt.


_logo_2012.svg.avif)


Primäre Vorteile
Entwurfskontrolle
Beginnen Sie bei Null oder verwenden Sie ein vorgefertigtes Formular und passen Sie die Farben, Schriftarten, die Platzierung des Logos und das Gesamtlayout an, um ein Formular zu erstellen, das zu Ihrer Marke passt.
Segmentierung
Erfassen Sie spezifische Daten, die für Ihre Geschäftsanforderungen relevant sind. Fügen Sie zusätzliche Felder ein, um Informationen zu sammeln und Ihr Publikum zu segmentieren und Ihre Kommunikation (z. B. E-Mail) und Ihr Produkt oder Ihre Dienstleistung anzupassen.
Analysen und Einblicke
Erfassen, verfolgen und analysieren Sie unterschiedliches Nutzerverhalten und Engagement.
Wie Sie Ihr benutzerdefiniertes Webflow-Anmeldeformular einbinden
Memberstack funktioniert mit Anmelde-, Login- und Profilformularen, die Sie in Webflow erstellen. Hier erfahren Sie, wie Sie Ihr benutzerdefiniertes Webflow-Anmeldeformular in Memberstack integrieren können.
A. Kopieren und Einfügen
Diese Methode ist die schnellste und am meisten empfohlene. Wir haben Hunderte von anpassbaren Komponenten, die Sie verwenden können, um loszulegen.
1. Wählen Sie aus über 200+ kostenlosen Komponenten oder beginnen Sie mit einem ungestylten Anmeldeformular.
2. Kopieren Sie das Formularelement und fügen Sie es in Ihr Projekt ein.
Alle Attribute und der benutzerdefinierte Code, die Sie benötigen, wurden bereits für Sie eingerichtet.
Wenn Sie zusätzliche Informationen erfassen möchten, lesen Sie bitte "Optionaler Schritt 3 → Benutzerdefinierte Felder hinzufügen".
unten.
-------------
B. Ganz von vorne anfangen
Schritt 1 → Erstellen eines Formulars in Webflow
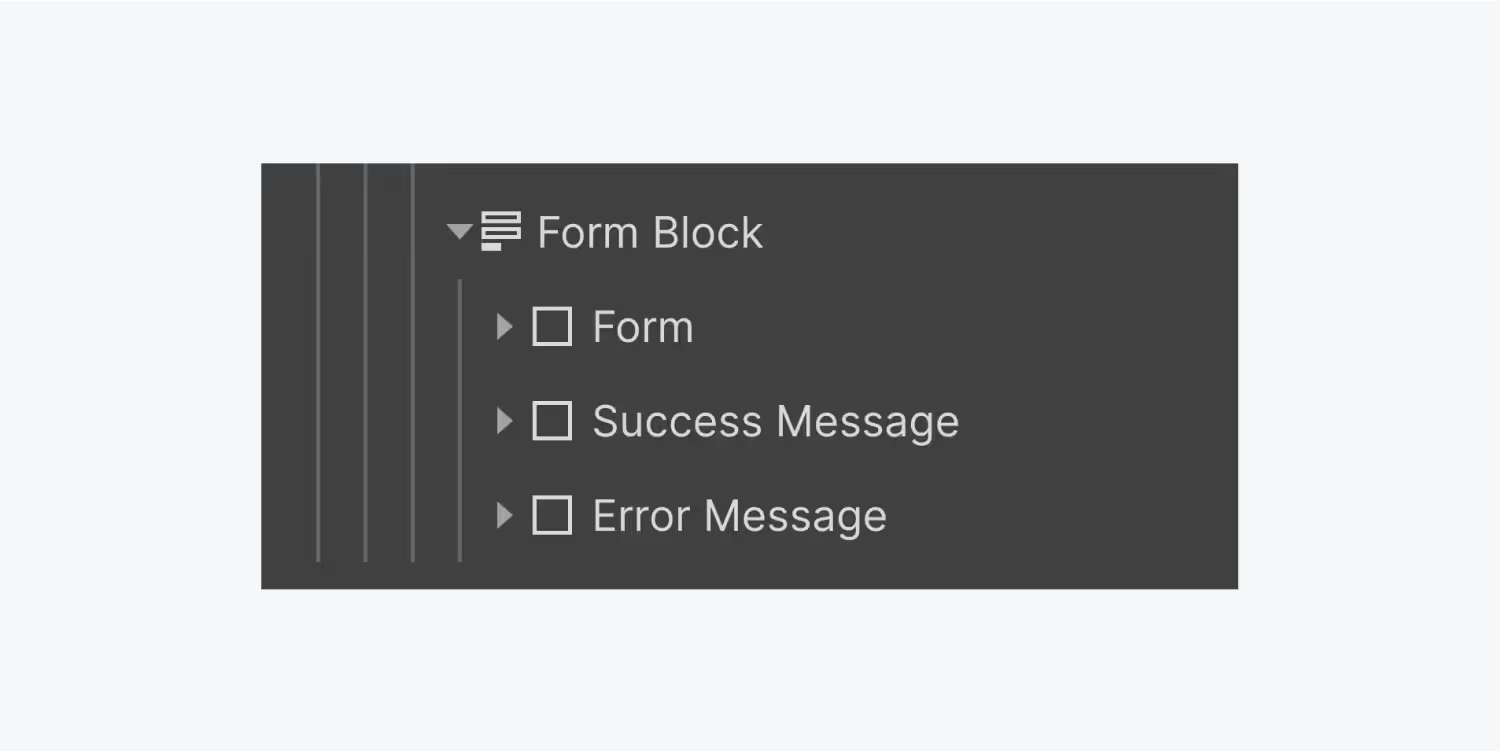
- Fügen Sie einen Formularblock hinzu.
- Fügen Sie die erforderlichen Eingabefelder (E-Mail und Passwort) und alle zusätzlichen Felder hinzu, für die Sie Daten erfassen möchten. Dies können Kontrollkästchen, Optionsfelder, Auswahlfelder oder Testbereiche sein.
Schritt 2 → Hinzufügen der Memberstack-Datenattribute
- Add data-ms-form=”signup” to the <form> element.
- Fügen Sie die Daten attributedata-ms-member="email" zu Ihrer E-Mail-Eingabe hinzu.
- Fügen Sie data-ms-member="password" zu Ihrer Passworteingabe hinzu.
Optionaler Schritt 3 → Benutzerdefinierte Felder hinzufügen
- Wenn Sie benutzerdefinierte Felder haben, müssen Sie diese zu Ihrer Datenbank in Memberstack hinzufügen. Benutzerdefinierte Felder erstellen
- Memberstack generiert für jeden eine Feld-ID, die Sie zu Webflow hinzufügen müssen. Das Attribut sieht aus wie data-ms-member="custom_field_id", data-ms-member="name", data-ms-member="phone", usw.
- Ihr Formular ist nun bereit, Mitglieder zu Ihrer Memberstack-Anwendung hinzuzufügen!
-------------
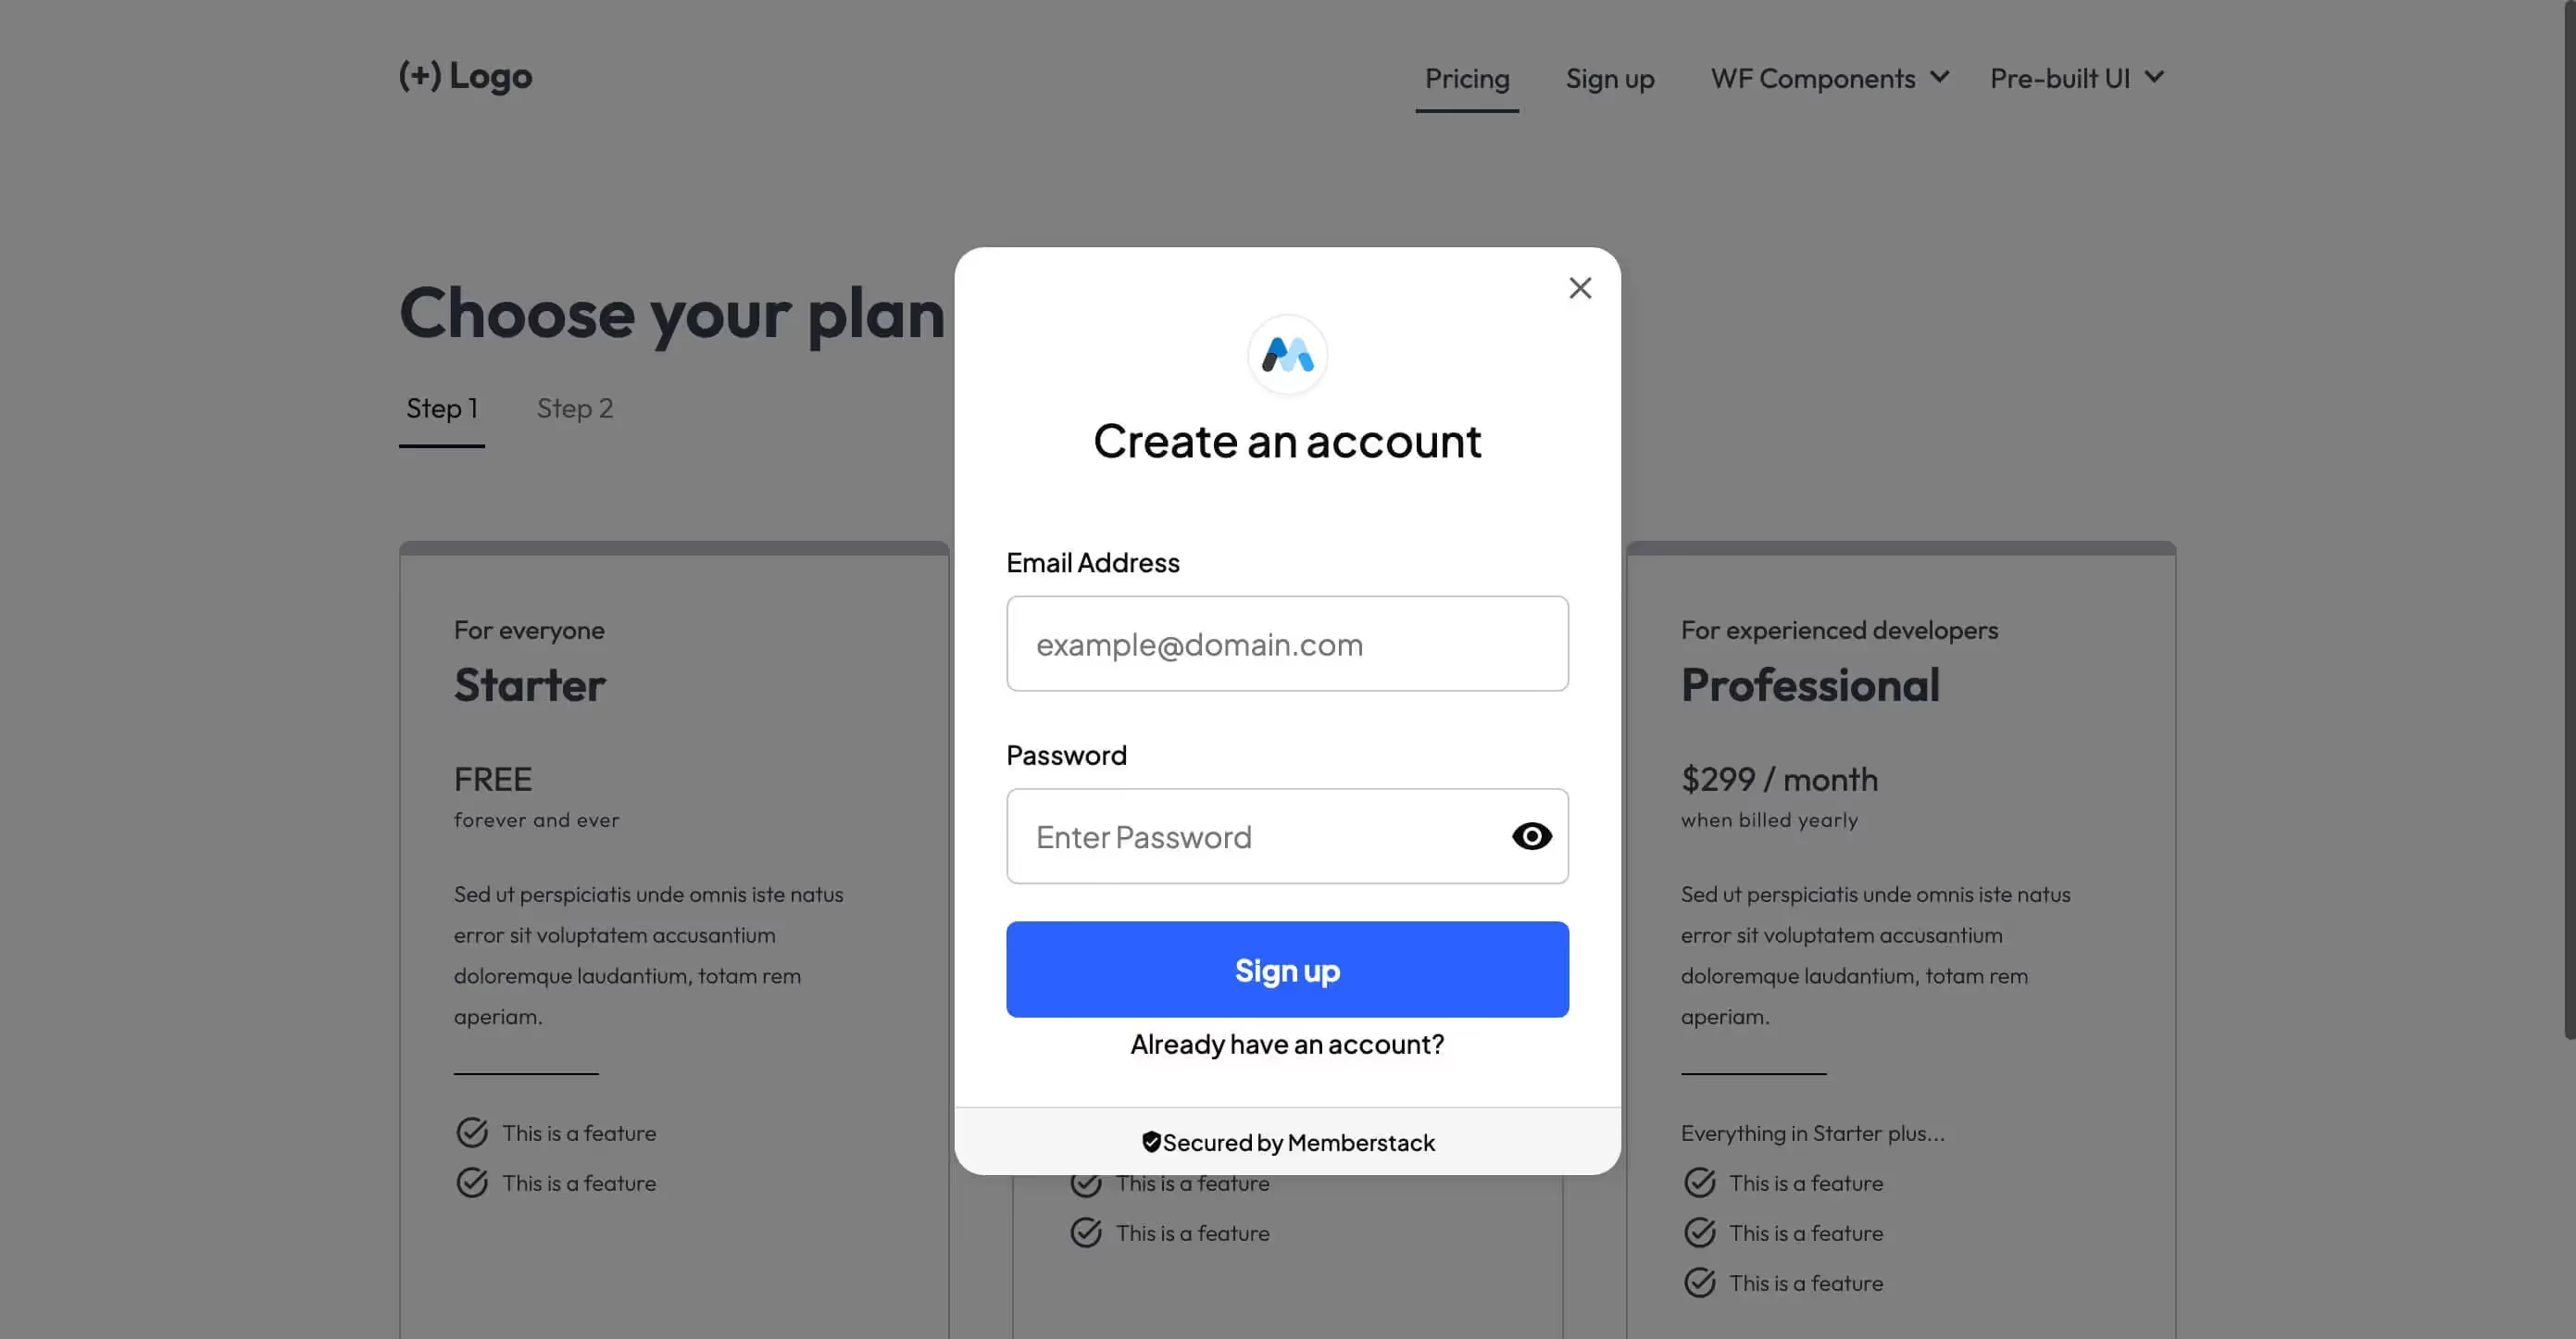
C. Vorgefertigte Modale
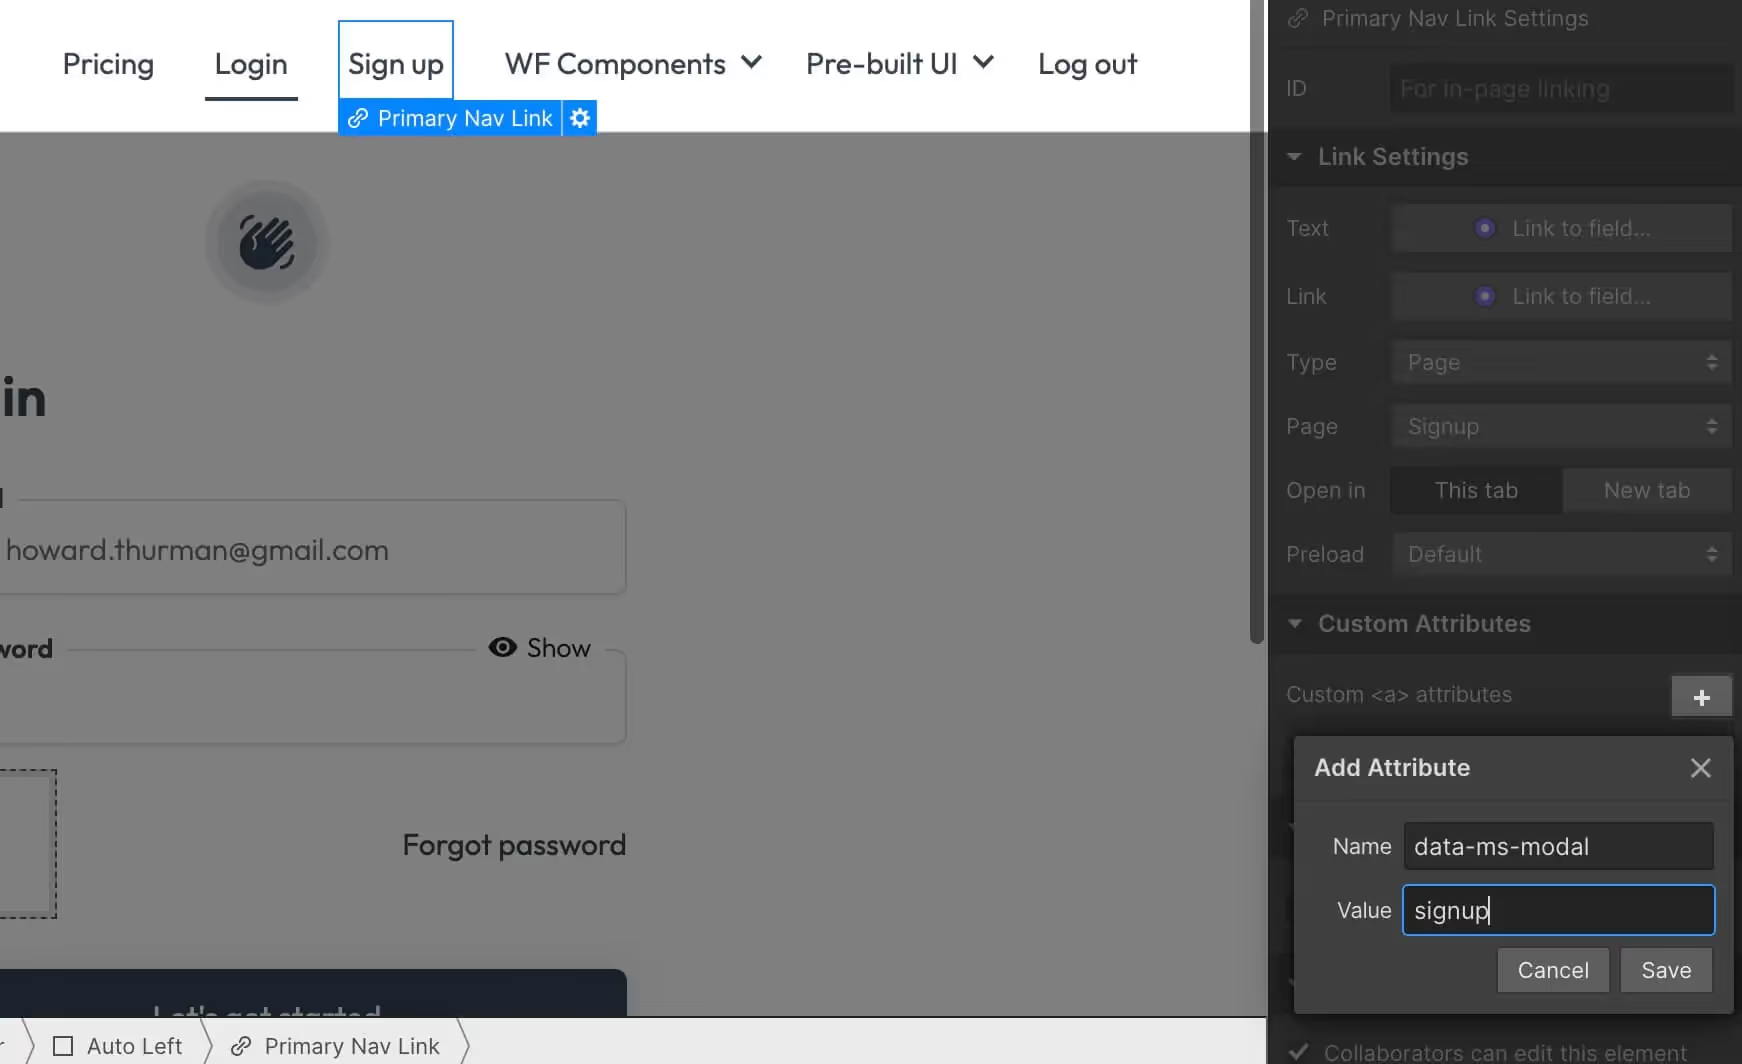
Step 1 → Create a signup link or button on your site.

Schritt 2 → Fügen Sie das Attribut data-ms-modal="signup" zu Ihrem Link hinzu.

Das war's! → Ihr Formular ist bereit für Mitglieder!

Mehrere Anmeldeseiten erstellen
Bitte platzieren Sie Ihre Anmeldeformulare auf einzelnen Seiten. Memberstack kann eine Seite mit 2 oder mehr Anmeldeformularen nicht richtig verarbeiten.
Möchten Sie mehr über Memberstack erfahren? Treten Sie unserer Slack-Community mit über 5.500 Mitgliedern bei!
Treten Sie der Memberstack-Community Slack bei und fragen Sie los! Erwarten Sie eine prompte Antwort von einem Team-Mitglied, einem Memberstack-Experten oder einem anderen Community-Mitglied.
Unserem Slack beitretenÄhnliche Merkmale
Gehostete Inhalte
Hosten Sie HTML-Inhalte und Links direkt in Memberstack und stellen Sie sicher, dass Ihre "gehosteten" Inhalte nur für Mitglieder mit den entsprechenden Plänen oder Berechtigungen zugänglich sind.
Mehr erfahrenBenutzerdefinierte Fehler- und Erfolgsmeldungen
Sie können alles selbst gestalten. Einschließlich der Fehler- und Erfolgsmeldungen, die Memberstack anzeigt, wenn eine "E-Mail ist bereits vergeben" oder ein "Profil wurde aktualisiert".
Mehr erfahrenStornierung Einblicke
Erfassung der Stornogründe von Kunden über die vordefinierte Benutzeroberfläche von Stripe.
Mehr erfahrenWebflow-Komponentenbibliothek
Ständig wachsende Bibliothek mit mehr als 200 individuell erstellten Webflow-Komponenten.
Mehr erfahrenÜbersetzung
Erstellen Sie Ihre eigene Benutzeroberfläche und stellen Sie den Text in jeder gewünschten Sprache ein. Übersetzen Sie auch gehostete Seiten, Fehlermeldungen und Erfolgsmeldungen.
Mehr erfahrenMehrstufiges Onboarding
Erstellen Sie hochkonvertierende Anmeldeströme, die genau so aussehen und sich anfühlen, wie Sie es wünschen.
Mehr erfahrenAlle Funktionen anzeigen →
Bauen Sie Ihre Träume
Memberstack ist 100% kostenlos, bis Sie bereit sind, zu starten - worauf warten Sie also noch? Erstellen Sie Ihre erste App und beginnen Sie noch heute mit der Entwicklung.

.avif)


.png)