Ovidiu
How to Make Members Confirm their Password on your Webflow Site
Memberscripts needed:
Tutorial:
Cloneable:
https://confirm-password.webflow.io/

Why/When would need to Make Members Confirm their Password?
- Ensure users don’t have typos in their passwords when creating an account.
No one wants to create a new account and later have to reset their password because they accidentally mistyped it when signing up.
To avoid this, you can simply add an additional password confirmation field to your sign-up form, forcing users to type their passwords twice. This will ensure that they get their passwords right and avoid any unpleasantness.
Unless, of course, they mistype them the exact same way twice, in which case… that’s just on them.
Making website members confirm their password on Webflow sites
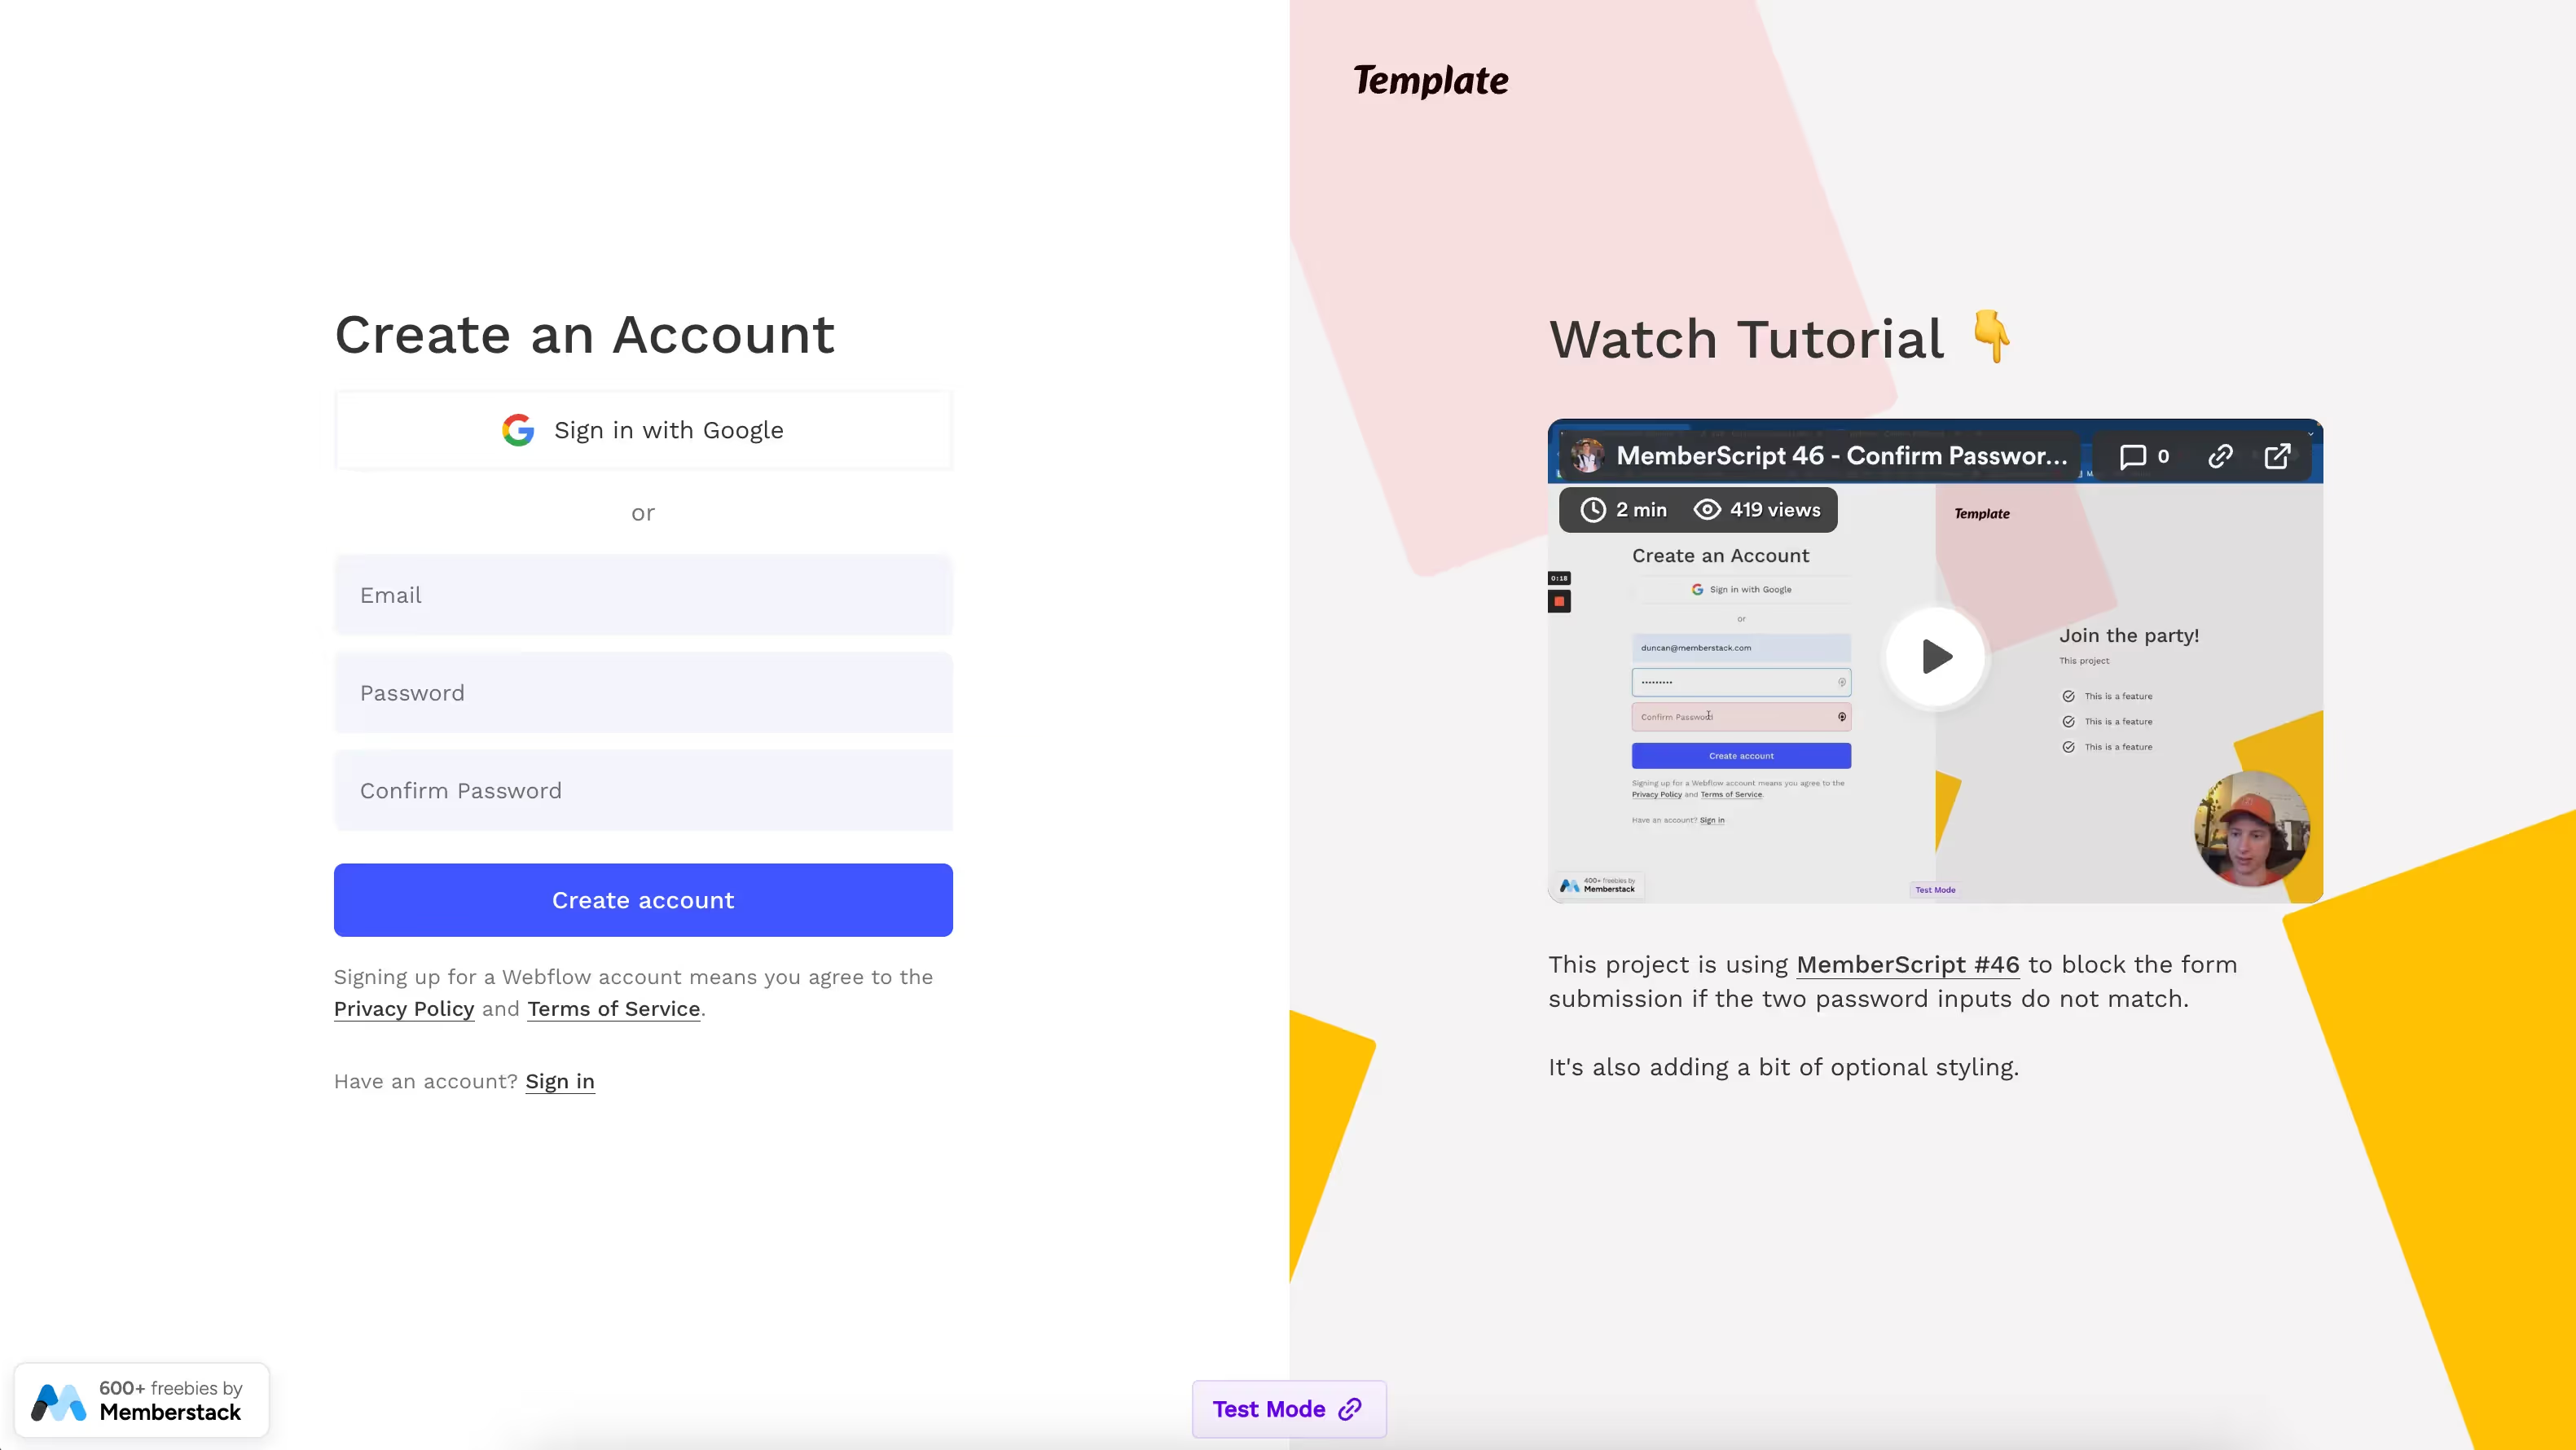
To add a password confirmation field to a Webflow form, we’re going to use MemberScript #46 – Confirm Password. Follow the link to get the code you’ll need to add to your page and watch a video tutorial on how to set everything up.
Setting up the form
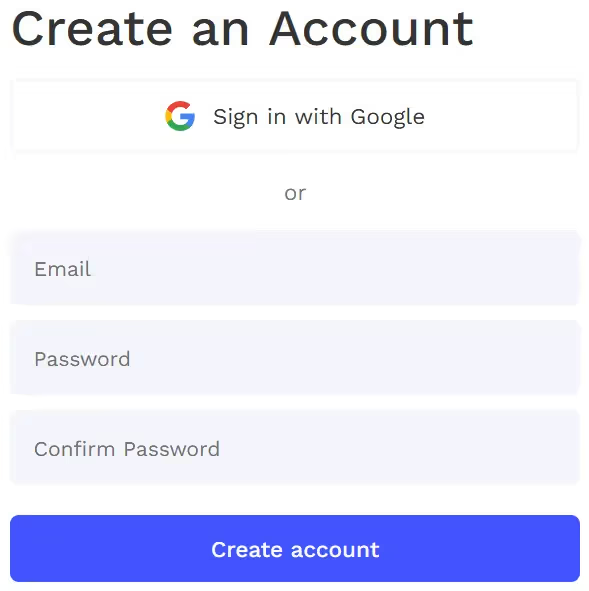
The first thing you’ll need to do is build out the form itself and style it however you want.
Once you’ve created the form and you’ve added a password confirmation field, select the field and add the following attribute to it:
- ms-code-password=”confirm”
As far as setting up the field, that’s all there is to it.
If you want to go the extra mile, you can add some additional styling to the password confirmation field based on whether the passwords match or not.
For example, once users start typing the password in the confirmation field, its background can be red, and once the passwords match, the background can turn green.
To do this, simply add a div block inside the same wrapper as the confirmation field itself and under this div block another two empty div blocks. Next, add combo classes to each empty div block, each with the same class as the form field itself and an additional “valid” or “invalid” class.
After you’ve styled the two empty div blocks, go ahead and select the parent div block and set its visibility to hidden.
Making it work
Now that you’ve got the form set up and you’ve created the show/hide buttons, all you need to do is add the MemberScript #46 custom code to your page, before the closing body tag.
Schlussfolgerung
That’s everything, you can now go ahead and test your form’s show/hide password feature.
If you want to use our demo project to get you started, just click the button below to add it to your Webflow site.

Our demo can help you add a password confirmation field to your form and block submissions unless the two passwords match.
Take me to the Scripts!
Fügen Sie Ihrem Webflow-Projekt in wenigen Minuten Mitgliedschaften hinzu.
Über 200 kostenlose, klonbare Webflow-Komponenten. Keine Anmeldung erforderlich.
Fügen Sie Ihrem React-Projekt in wenigen Minuten Mitgliedschaften hinzu.

.webp)


.png)
